When to Sharpen or Replace Mower Blades
Complete Guide to Maintaining Clean, Healthy Cuts
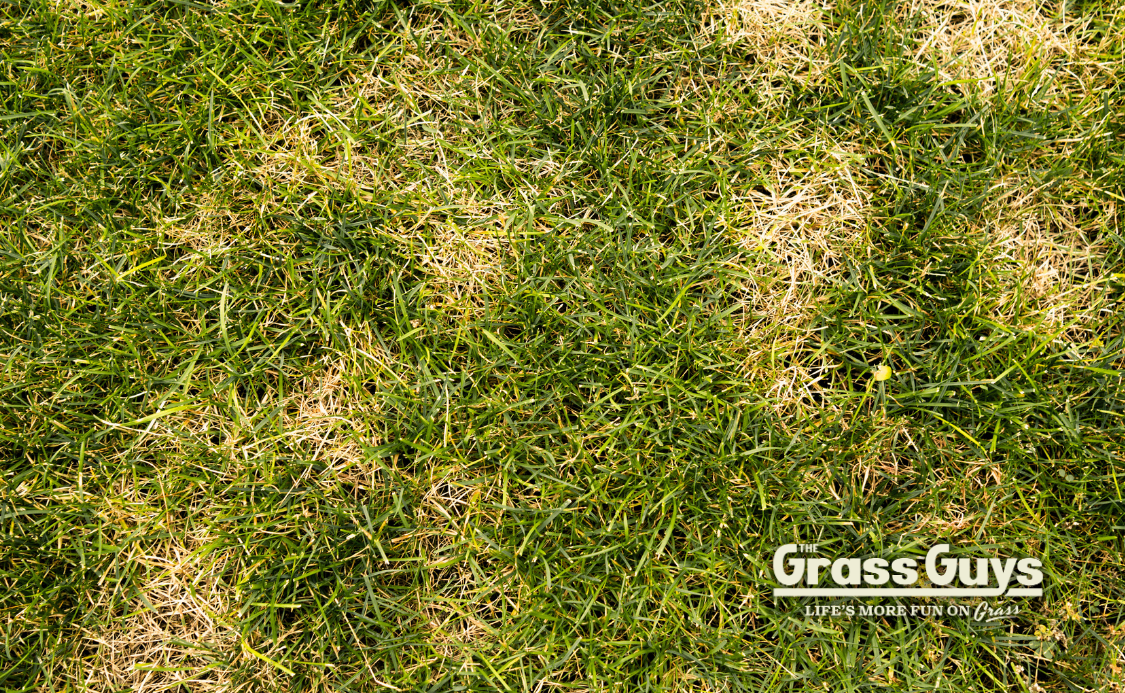
If your lawn looks dull, slightly brown, or shredded after mowing, your blades are probably the issue.
One of the fastest ways to upgrade lawn quality is proper blade maintenance.
But homeowners constantly ask:
- When should I sharpen?
- When should I replace?
- Can I just buy new ones every year?
- Aren’t new blades sharp out of the box?
Let’s clear it up and walk through the complete how-to for both sharpening and replacing.
The Short Answer
Most homeowners should:
- Sharpen blades 1 to 3 times per season
- Replace blades only when damaged, bent, cracked, or worn too thin
Sharpening is routine maintenance.
Replacing is structural repair.
Now let’s break it down.
Why Blade Sharpness Matters
Grass should be sliced cleanly, not torn.
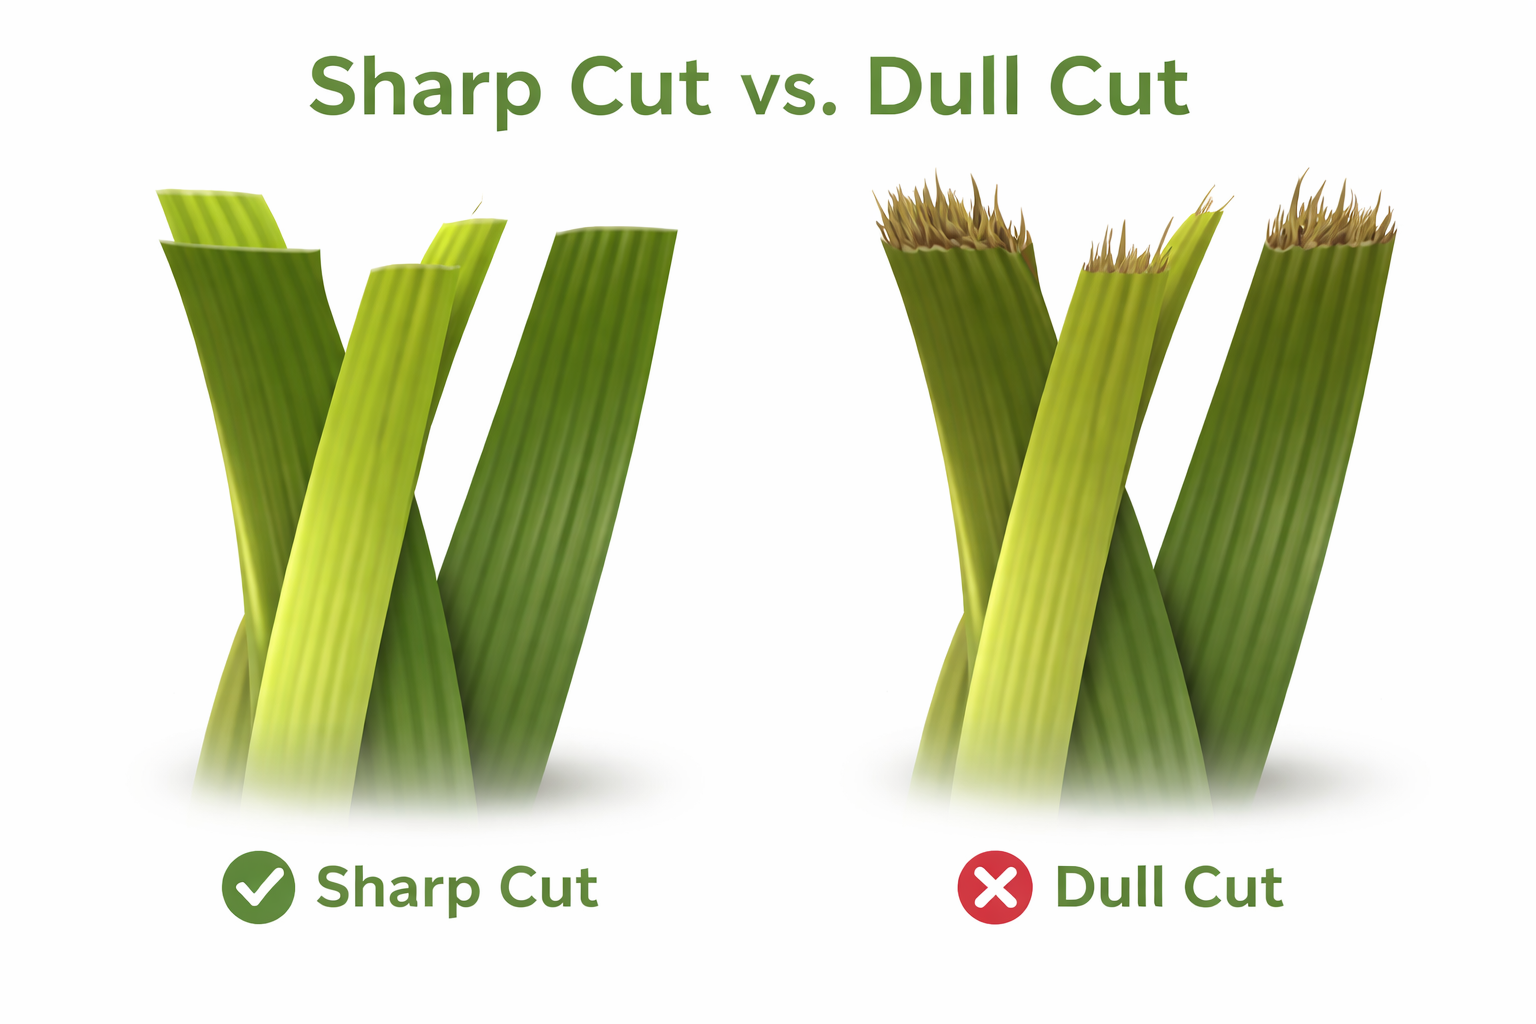
Sharp blades:
- Produce clean cuts
- Reduce moisture loss
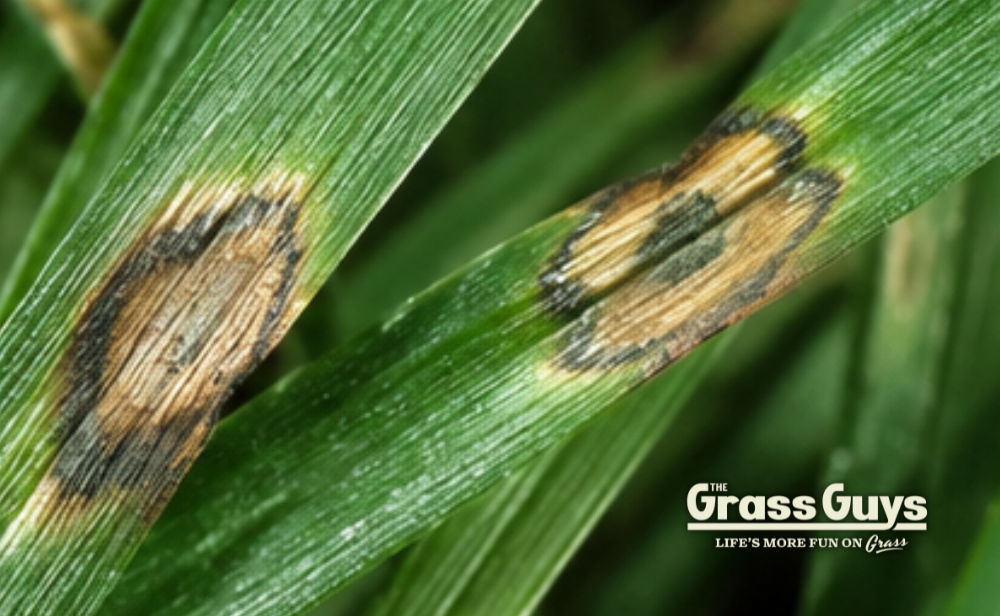
- Lower disease risk
- Improve lawn color
- Reduce stress
Dull blades:
- Shred grass tips
- Cause browning
- Increase summer stress
- Make the lawn look hazy
If your lawn looks gray after mowing, suspect your blade first.
Aren’t New Blades Sharp Out of the Box?
This surprises people.
New blades are not razor sharp.
They are manufactured with:
- A defined cutting edge
- A durable bevel
- Enough thickness to resist chipping
They are closer to butter-knife sharp than razor sharp.
That is intentional.
Extremely thin, razor-like edges would chip and dull quickly.
So yes, new blades cut well.
But they still dull over time and still need maintenance.
When to Sharpen
Use both time-based and performance-based checks.
Time-Based Guideline
- Small yard → Once per season
- Average weekly mowing → Twice per season
- Heavy use or sandy soil → 2 to 3 times per season
A good benchmark is every 20 to 25 mowing hours.
Performance-Based Signs
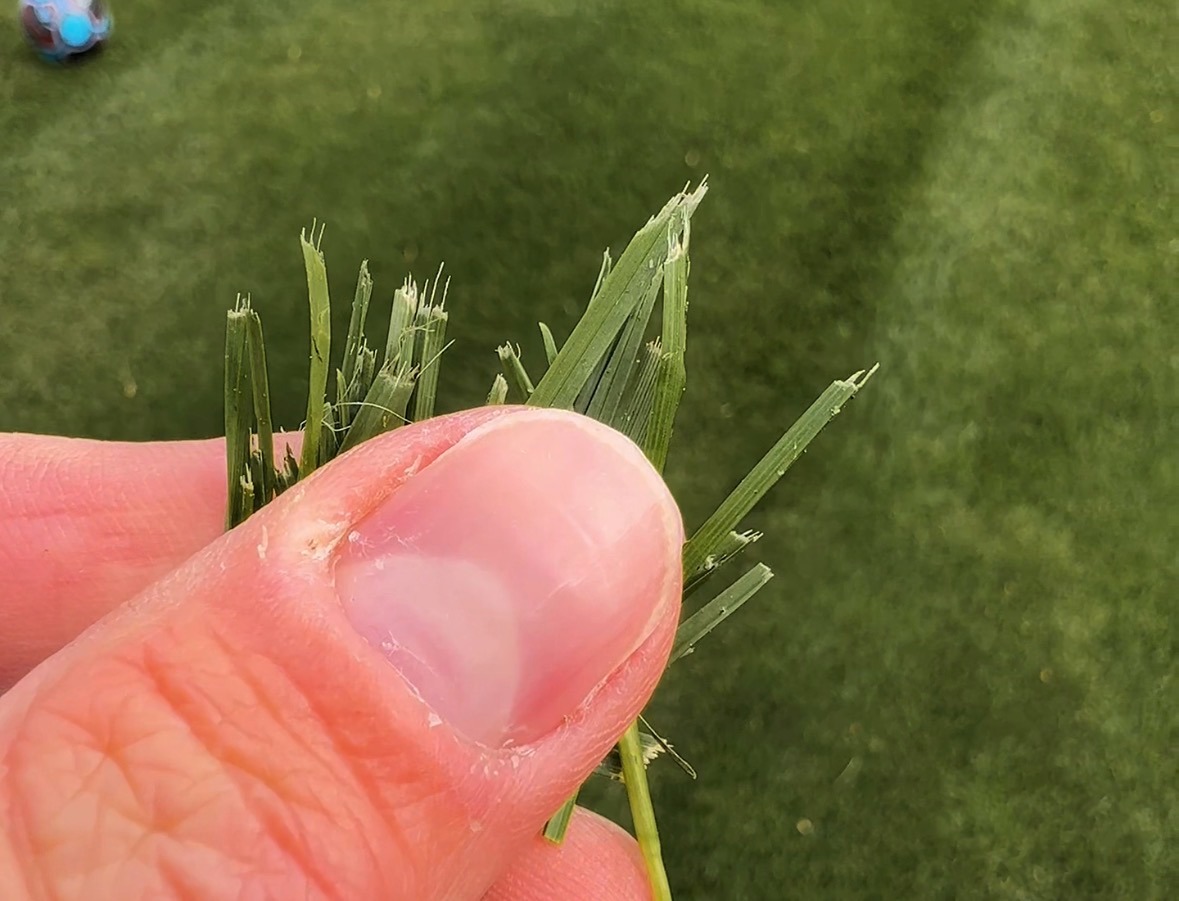
Sharpen when you notice:
- Grass tips are frayed or white
- Lawn looks dull after mowing
- Uneven cutting
- Increased vibration
- Visible nicks in blade edge
If the cut looks torn, it is time.
When to Replace Instead of Sharpen
Replace the blade if you see:
- Bending
- Cracks near the center hole
- Large chips missing
- Severe metal thinning from repeated sharpening
- Balance issues that cannot be corrected
Blades are designed to be sharpened multiple times.
But metal fatigue is real.
If the blade structure is compromised, replace it.
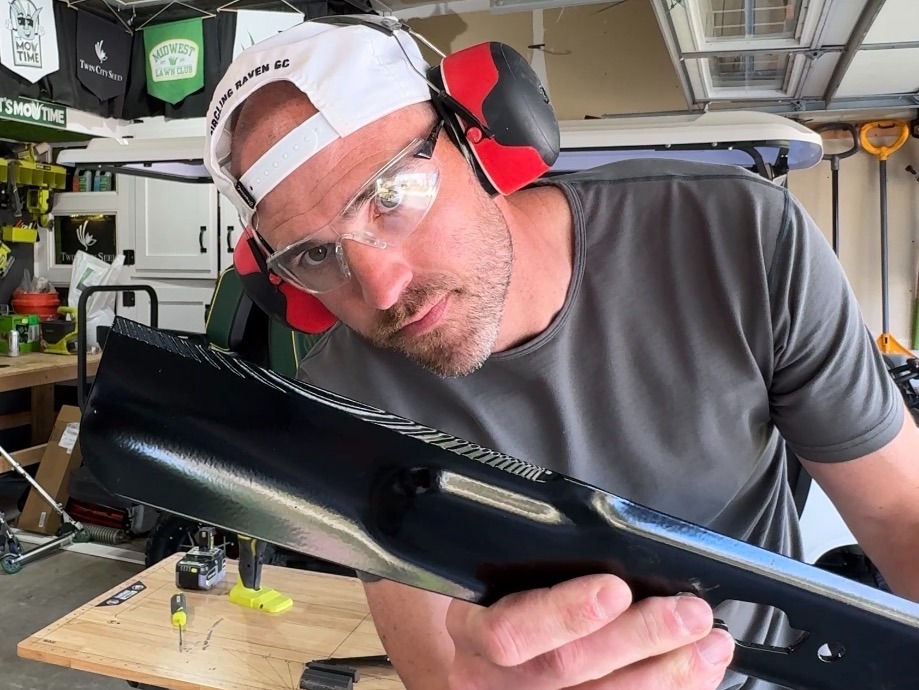
How to Sharpen Mower Blades (Step by Step)
Tools You Need:
- Socket wrench
- Work gloves
- Eye protection
- Bench grinder, angle grinder, or file
- Blade balancer (recommended)
- Clamp or vise
Watch: How to Sharpen Mower Blades
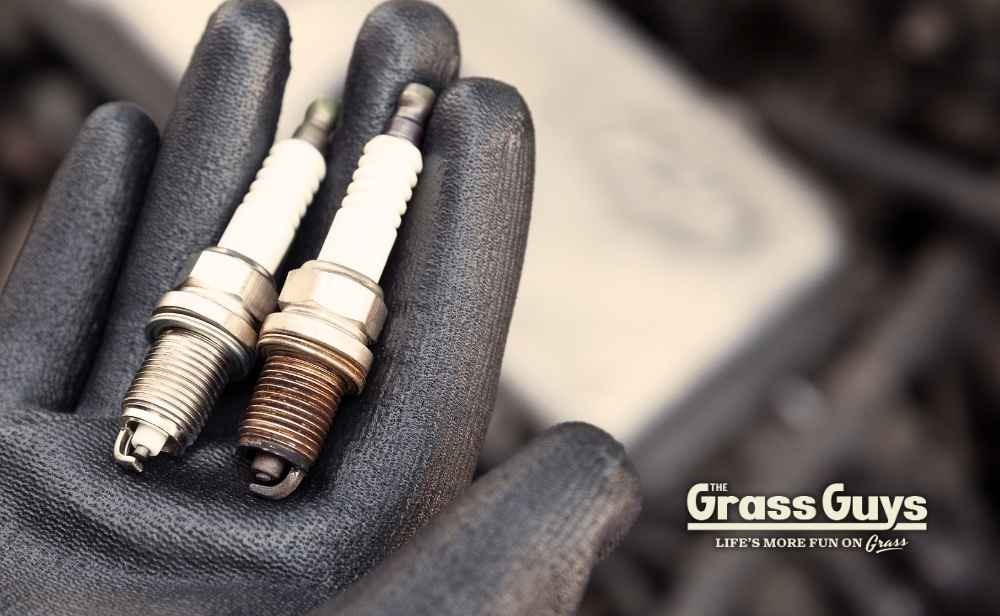
Step 1: Disconnect Power
For gas mowers:
- Remove spark plug wire
For battery mowers:
- Remove battery
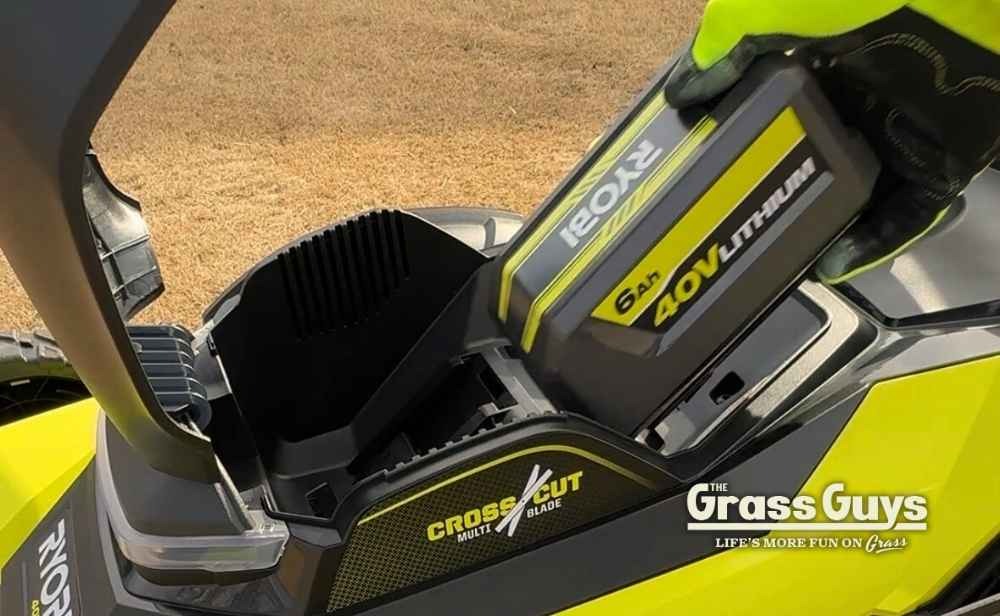
This prevents accidental startup.
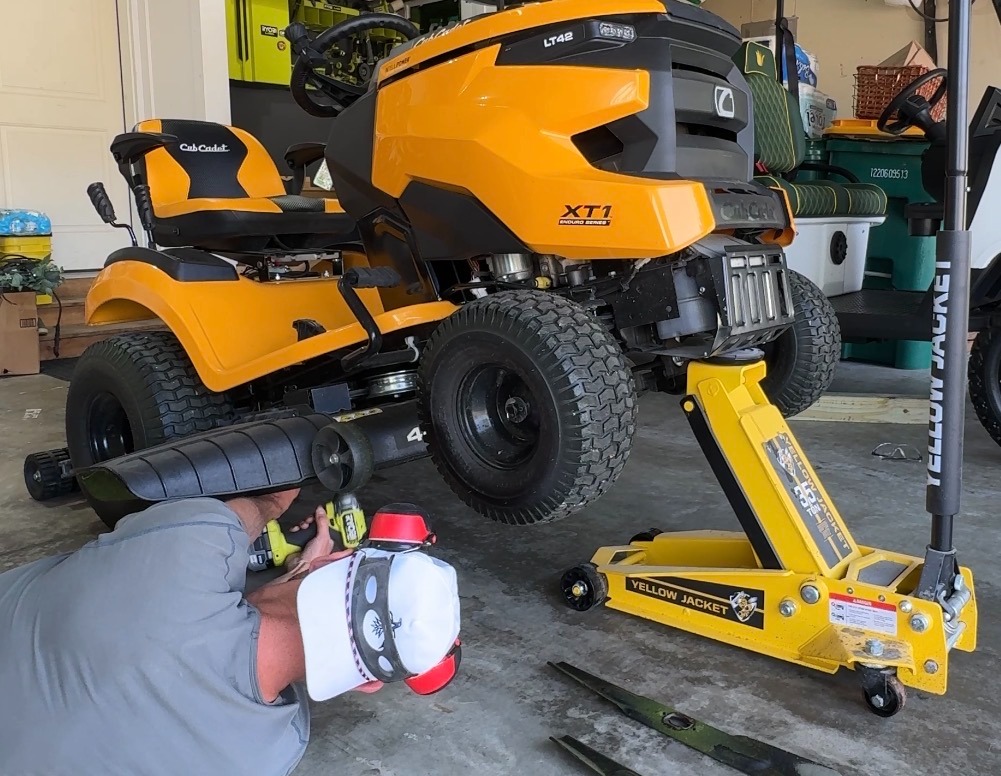
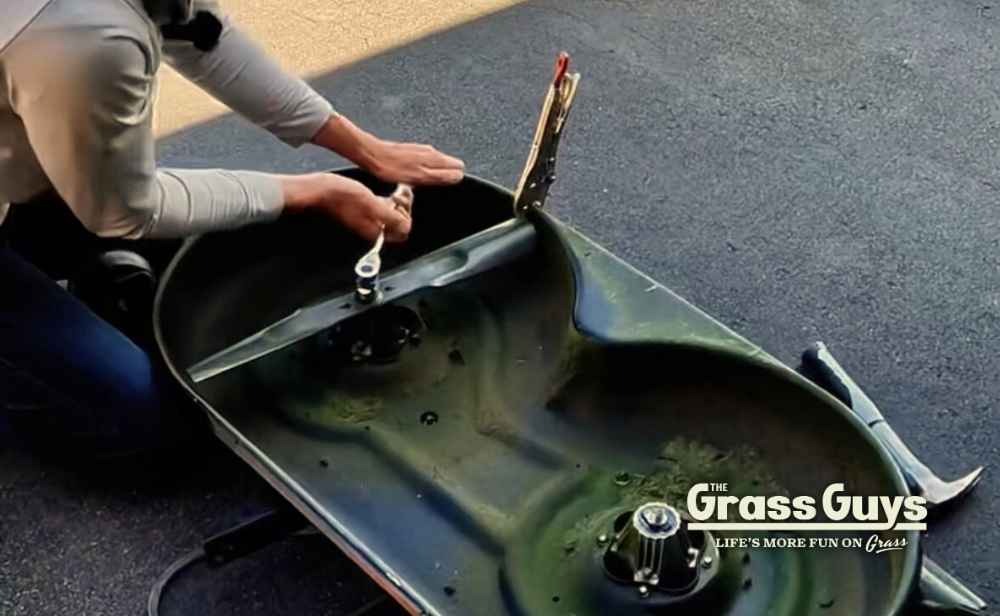
Step 2: Remove the Blade
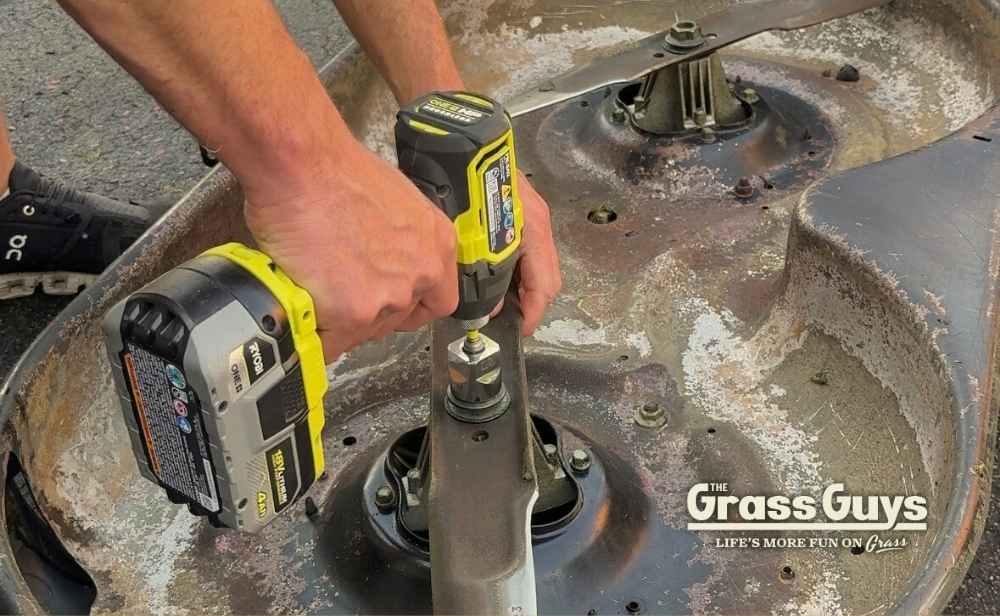
- Tilt mower carefully (carburetor side up on gas mowers)
- Use a wrench to loosen the blade bolt
- Note blade orientation before removing
Pro tip: Take a photo before removal.
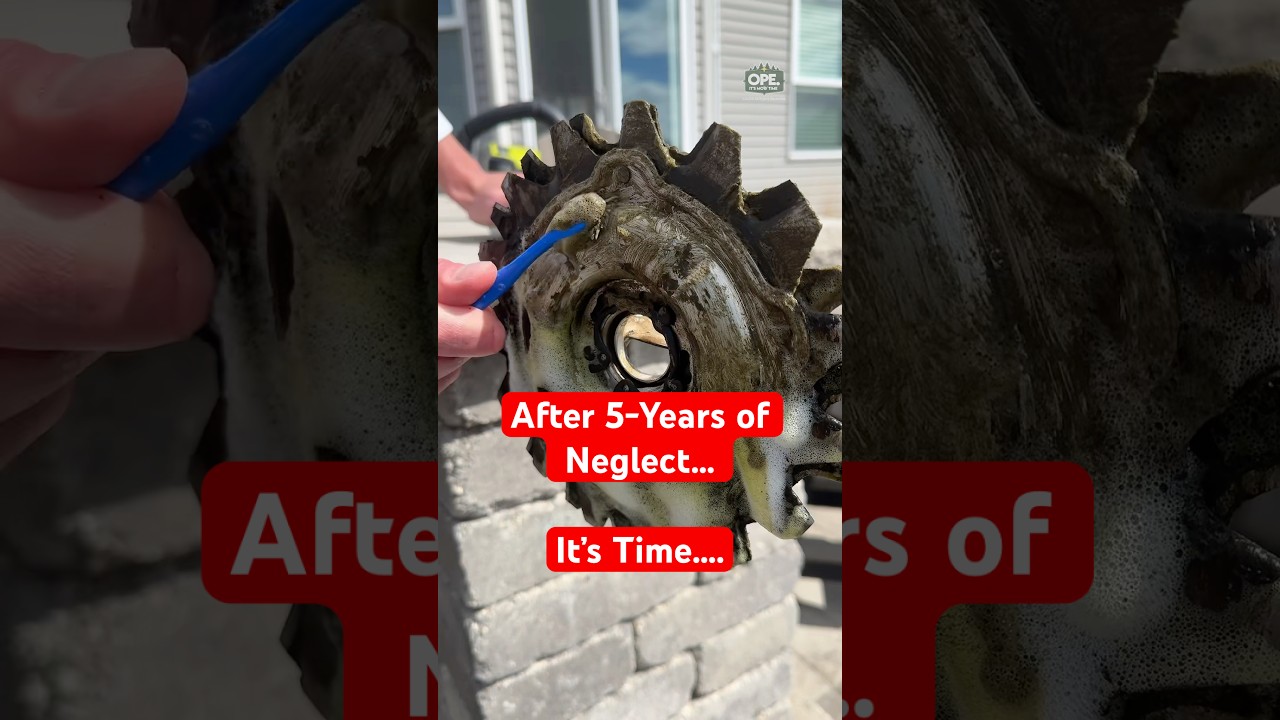
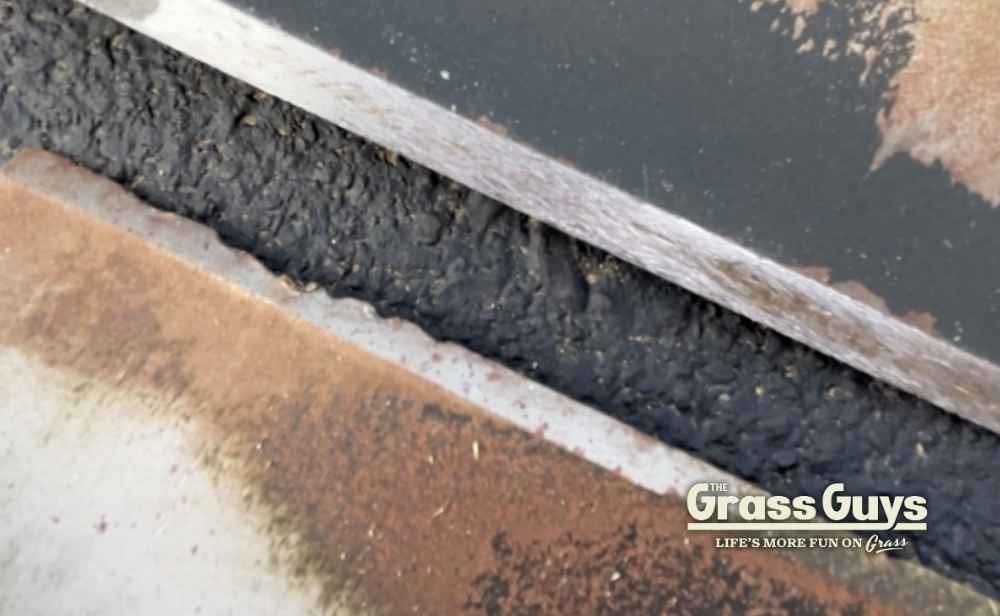
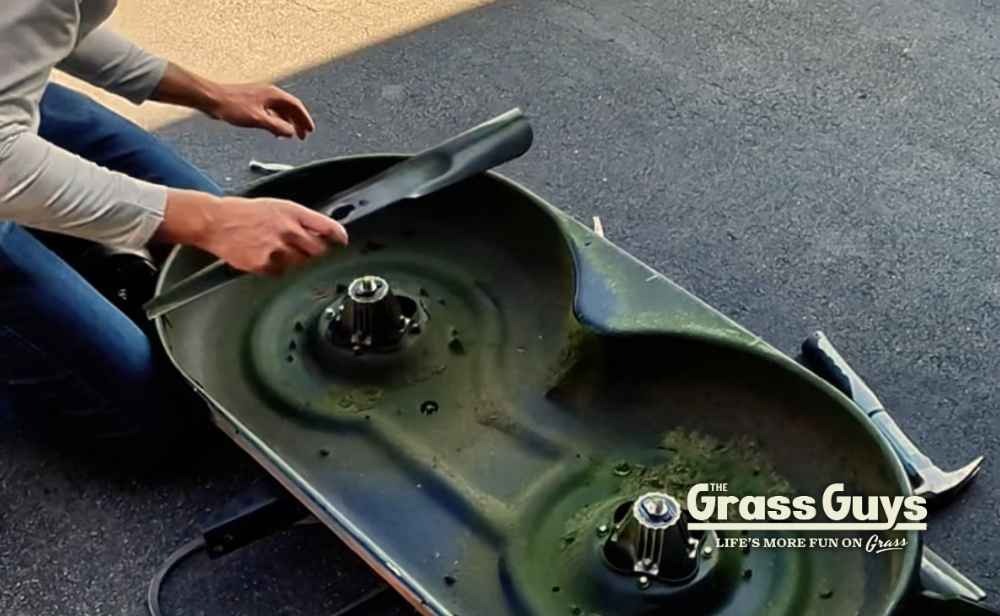
Step 3: Clean the Blade
- Scrape off debris
- Remove packed grass
- Inspect for cracks or bends
If cracked or bent, replace. Do not sharpen.
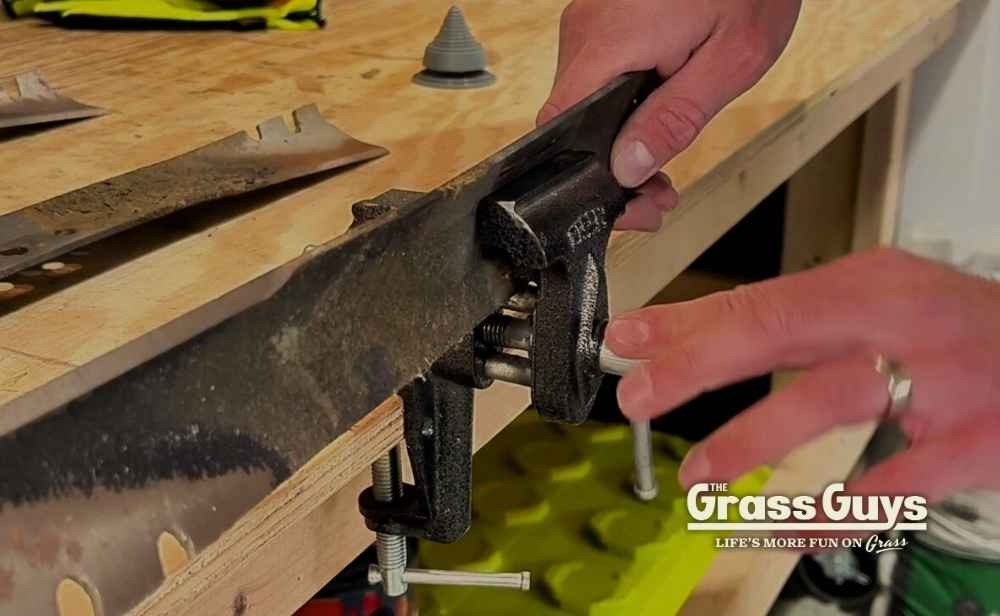
Step 4: Sharpen the Cutting Edge
Clamp the blade securely using a vice (below), or similar.
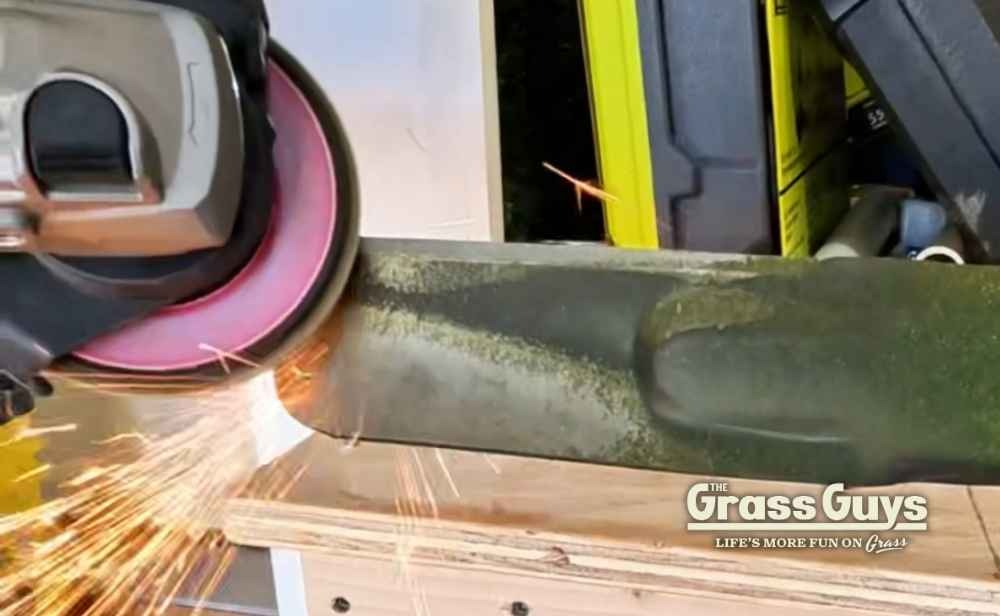
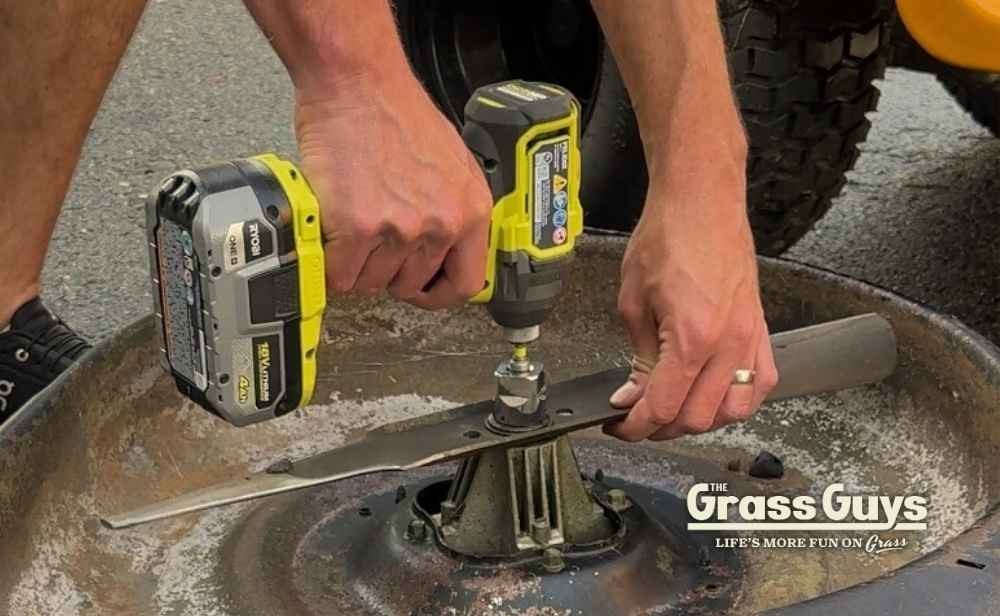
Step 5: Sharpen Blade
Sharpen along the existing bevel angle or getting as close to 30-degrees as possible.
Do not create a new angle.
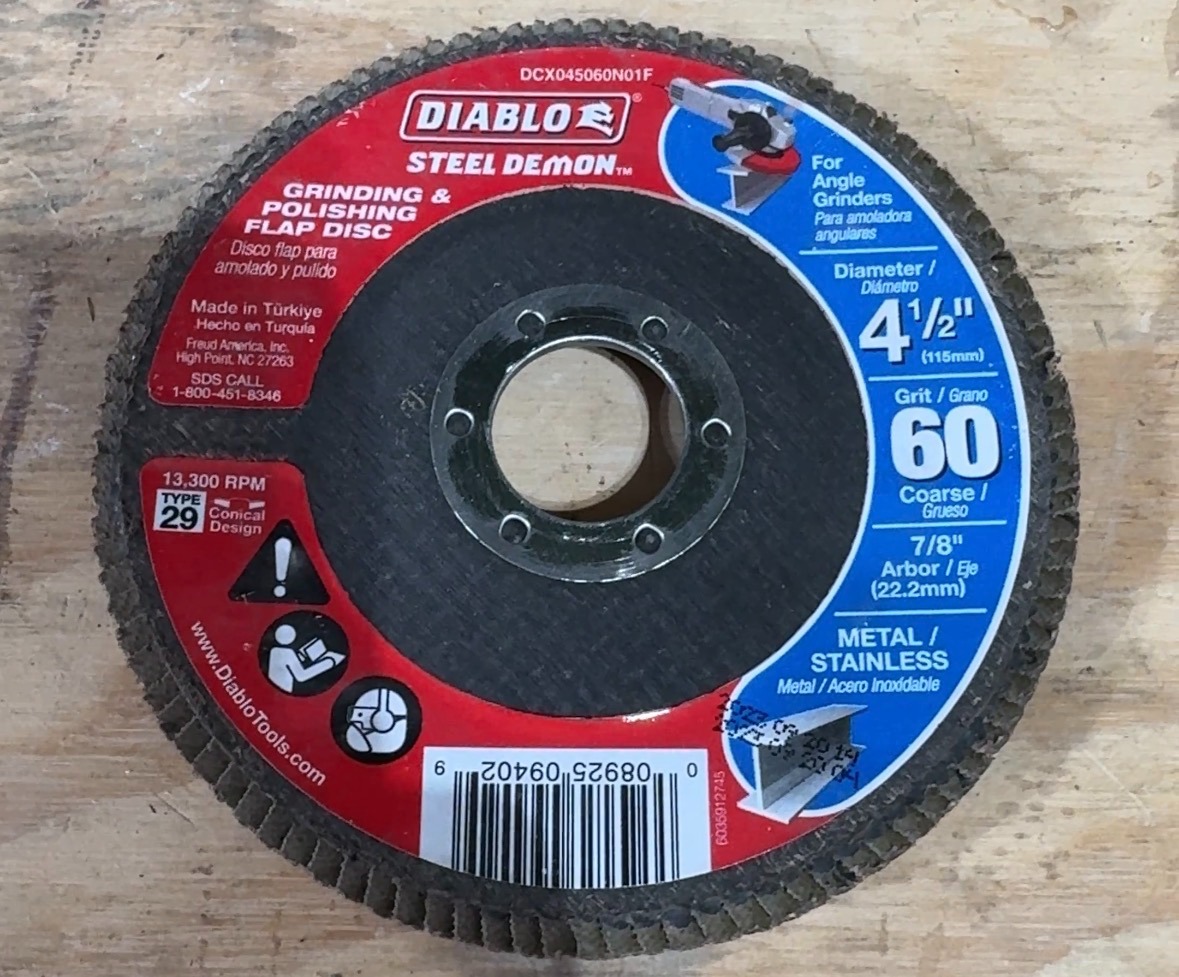
You can use something like a metal file to sharpen manually, or a standard 60 or 80 grit flap disc, as shown below:
Make smooth passes along the edge until:
- Nicks are removed
- Edge is clean and consistent
You are not trying to create a razor edge.
Aim for a clean, durable cutting edge.
Step 6: Balance the Blade
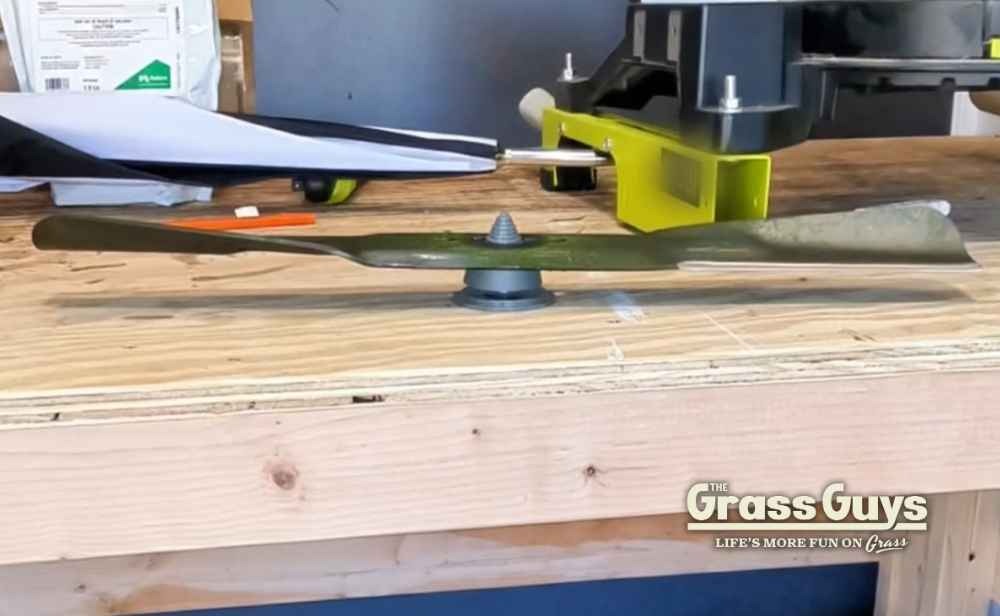
This part is critical to ensure you have a clean cut and to avoid equipment damage.
Place blade on a blade balancer. These are very inexpensive and can be found here.
If one side drops:
- Remove small amounts of material from heavier side
- Recheck balance
Balanced blades reduce vibration and engine wear.
Step 7: Reinstall Blade
- Install in correct orientation
- Tighten bolt securely to manufacturer torque spec
- Reconnect spark plug or battery
You are ready to mow.
Not Sharpening? How to Replace Mower Blades
Step-by-step process on replacing lawn mower blades

Step 1: Disconnect Power
Same as sharpening. Remove spark plug wire or battery.
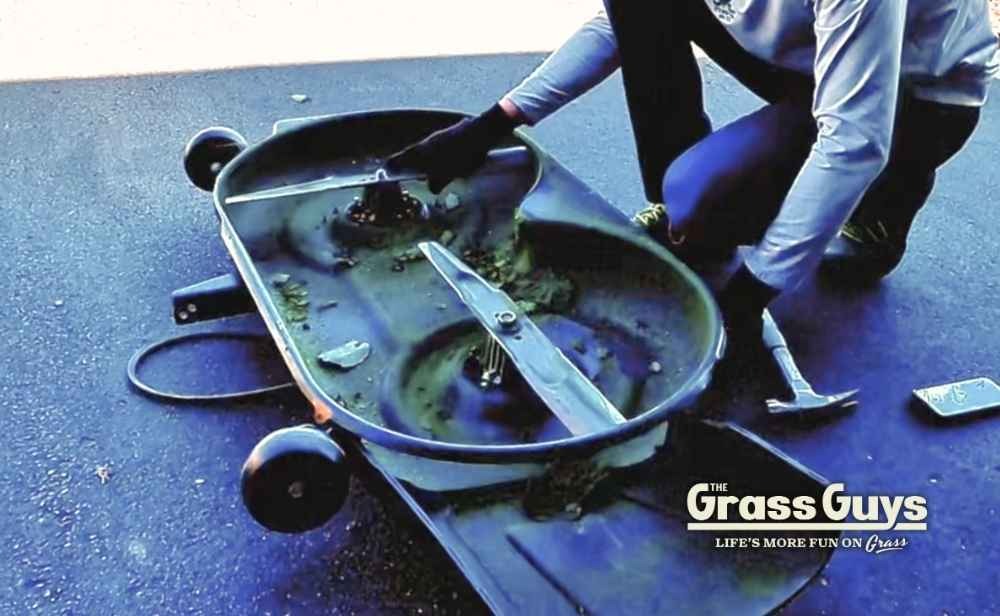
Step 2: Remove Old Blade
- Loosen center bolt
- Remove blade
- Inspect mounting area for debris
Step 3: Match Blade Type
Ensure replacement blade matches:
- Length
- Hole pattern
- Blade type (mulching, high lift, standard)
Incorrect blade types affect performance.
Step 4: Install New Blade
- Install in correct orientation (wings facing deck)
- Tighten to proper torque
- Reconnect power
You are done.
Can You Just Replace Instead of Sharpening?
Yes, but it is usually unnecessary.
Even new blades will dull during the season.
Replacing every season:
- Costs more
- Does not eliminate mid-season sharpening needs
- Does not address underlying mowing habits
Sharpening is maintenance.
Replacing is repair.
Most homeowners only need replacement every few seasons.
What Happens If You Ignore Blade Maintenance?
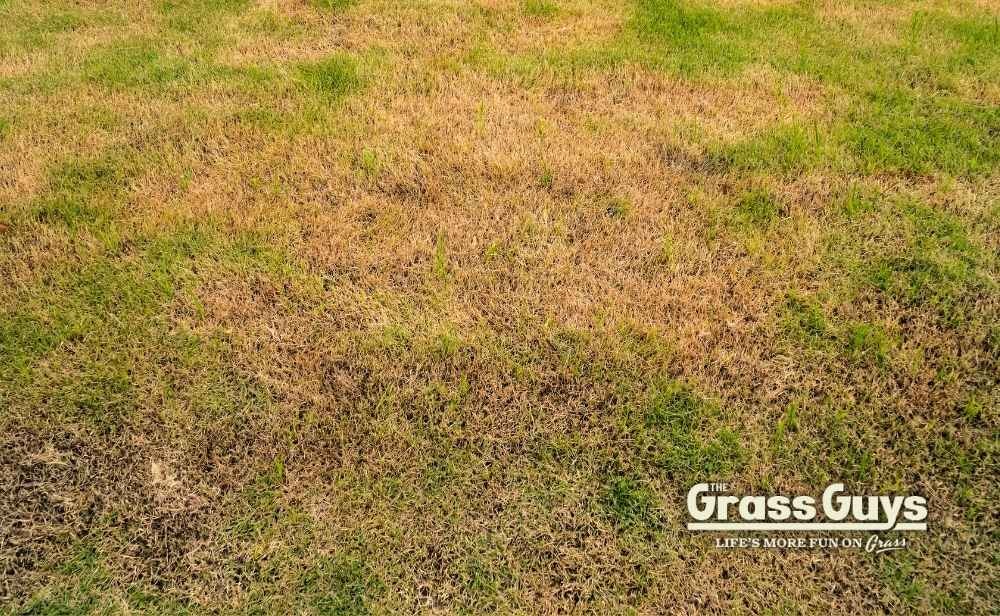
Over time:
- Lawn quality declines
- More browning appears
- Disease risk increases
- Stress compounds during heat
- Density declines
Blade maintenance is one of the simplest performance upgrades in lawn care.
Seasonal Blade Strategy
Start of season:
- Install freshly-sharpened or new blade
Mid-spring:
- Sharpen during peak growth
- Spring growth surge will dull the mower blade very quickly
- Grass stalks that appear in spring will also dull your blades very quickly
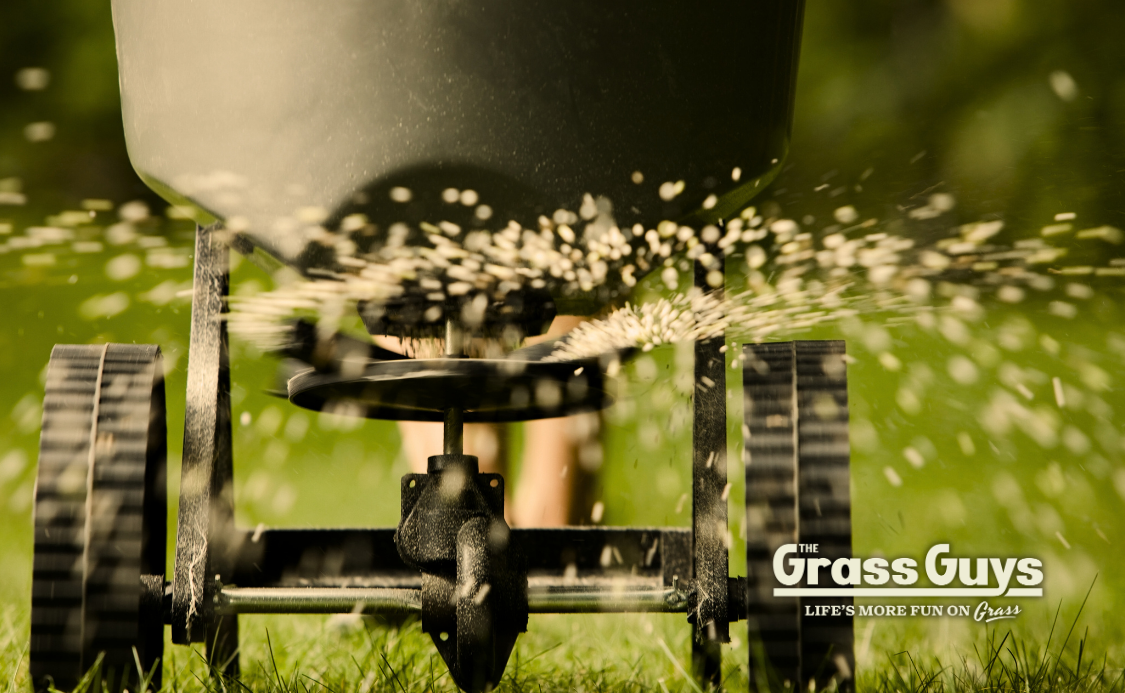
Late summer:
- Sharpen before fall overseeding
That keeps cuts clean all year.
Final Thoughts
Blade maintenance is not complicated.
Sharpen regularly.
Replace when structurally necessary.
Start every season sharp.
Clean cuts build stronger turf.
If your lawn looks tired, do not change fertilizer first.
Check your blade.